Visual chatbot is an add-on over a usual chatbot, which allows you to make the variants of questions visible to the site visitor. Using this functionality, you can show all frequently asked questions and a site visitor can get an answer without contacting a consultant by simply pressing a button.
How to make chatbot question variants visible
To make a question visible, you need to check the "Visual chat bot" setting. The checkbox should be checked from the top of the tree to the last visible question. After checking the checkbox you will see the "Redirection link" field, if you enter a string in it then instead of an answer you will be redirected to the page you specified. To enable and change the appearance you need to go to the site settings and select "Visual chatbot".
An example of creating our chat bot based on two questions.
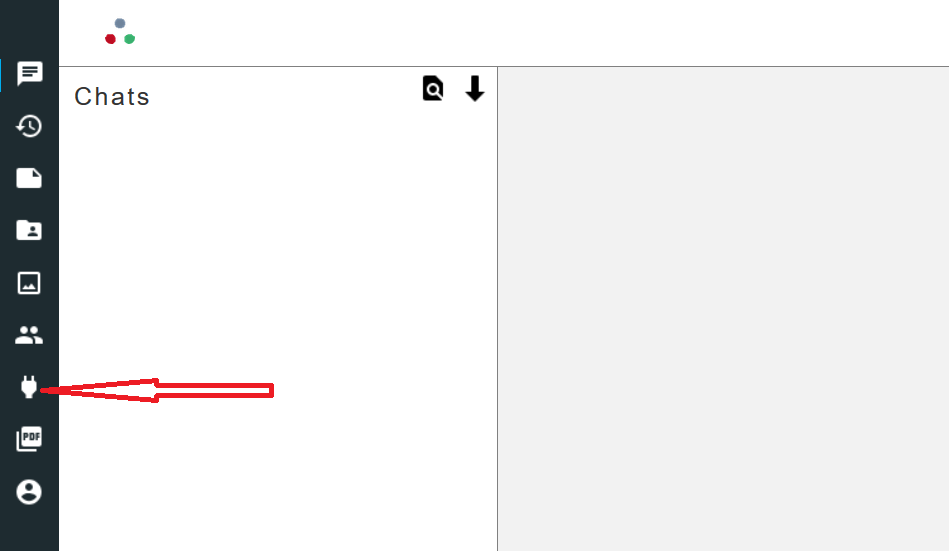
1. In your dashboard, open the "bots" tab.
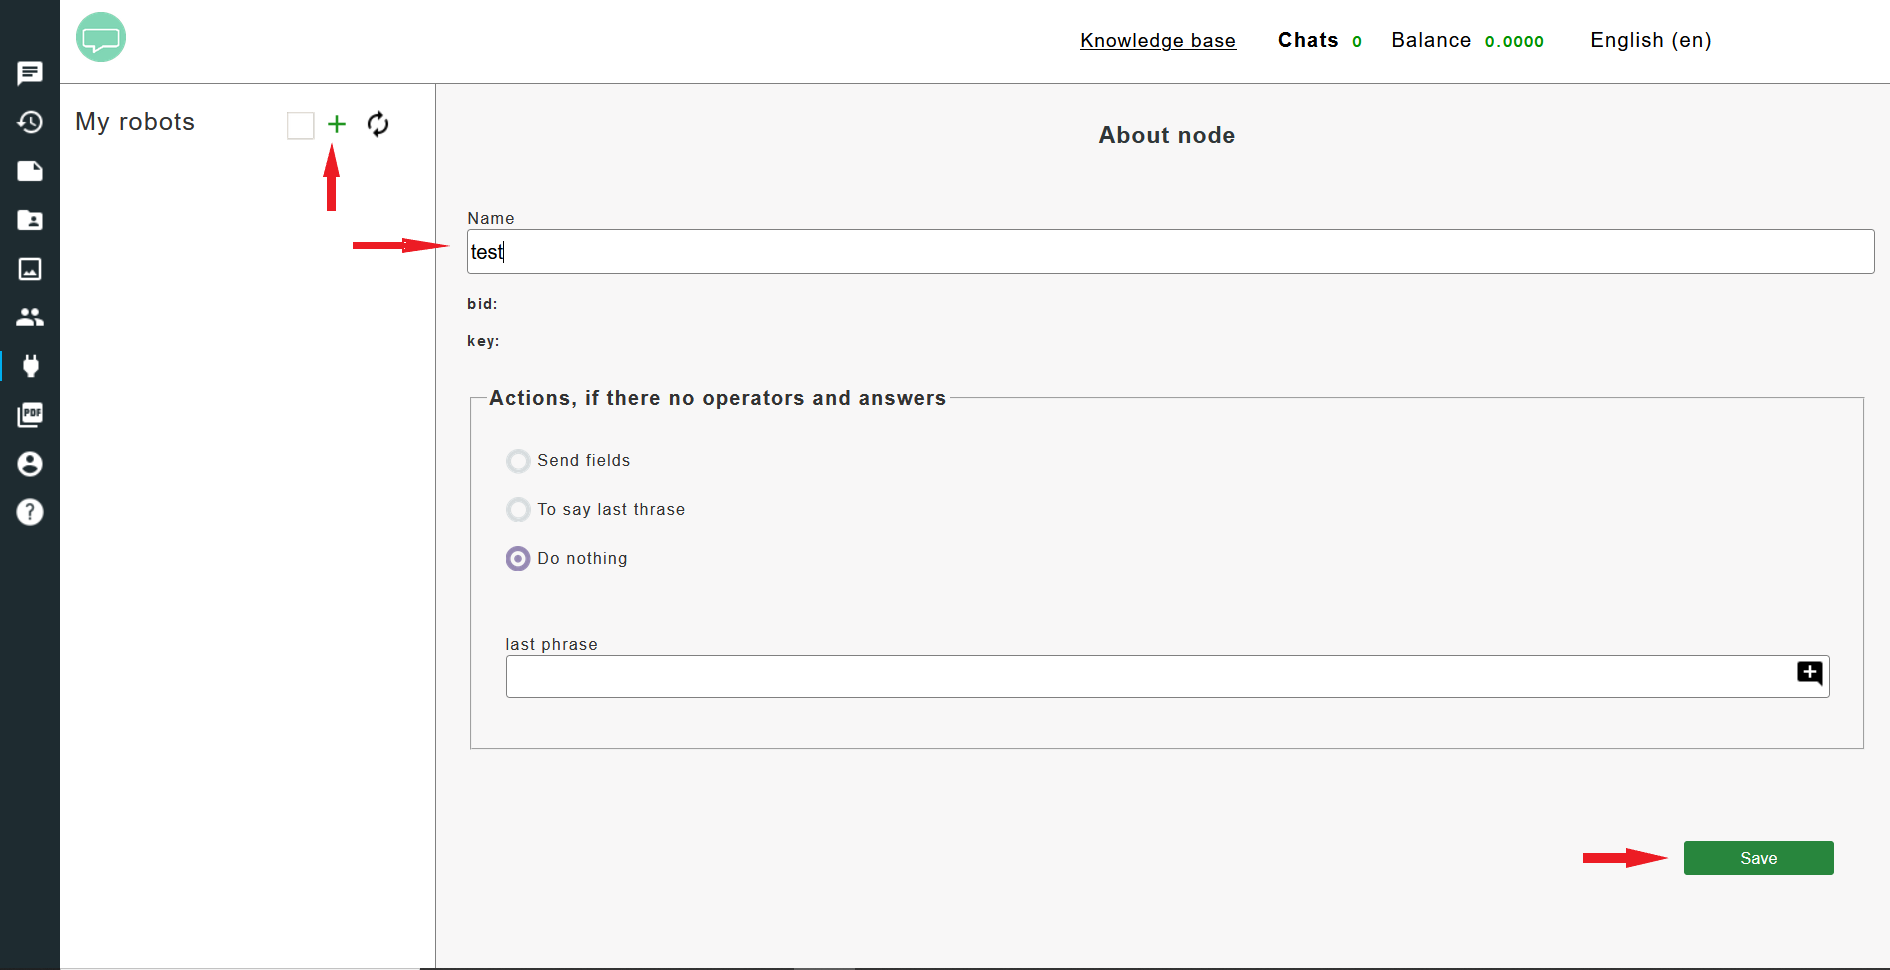
2. Click the "Add bot" button and name it test.
3. Right-click on the bot in the tree and click "Add question".
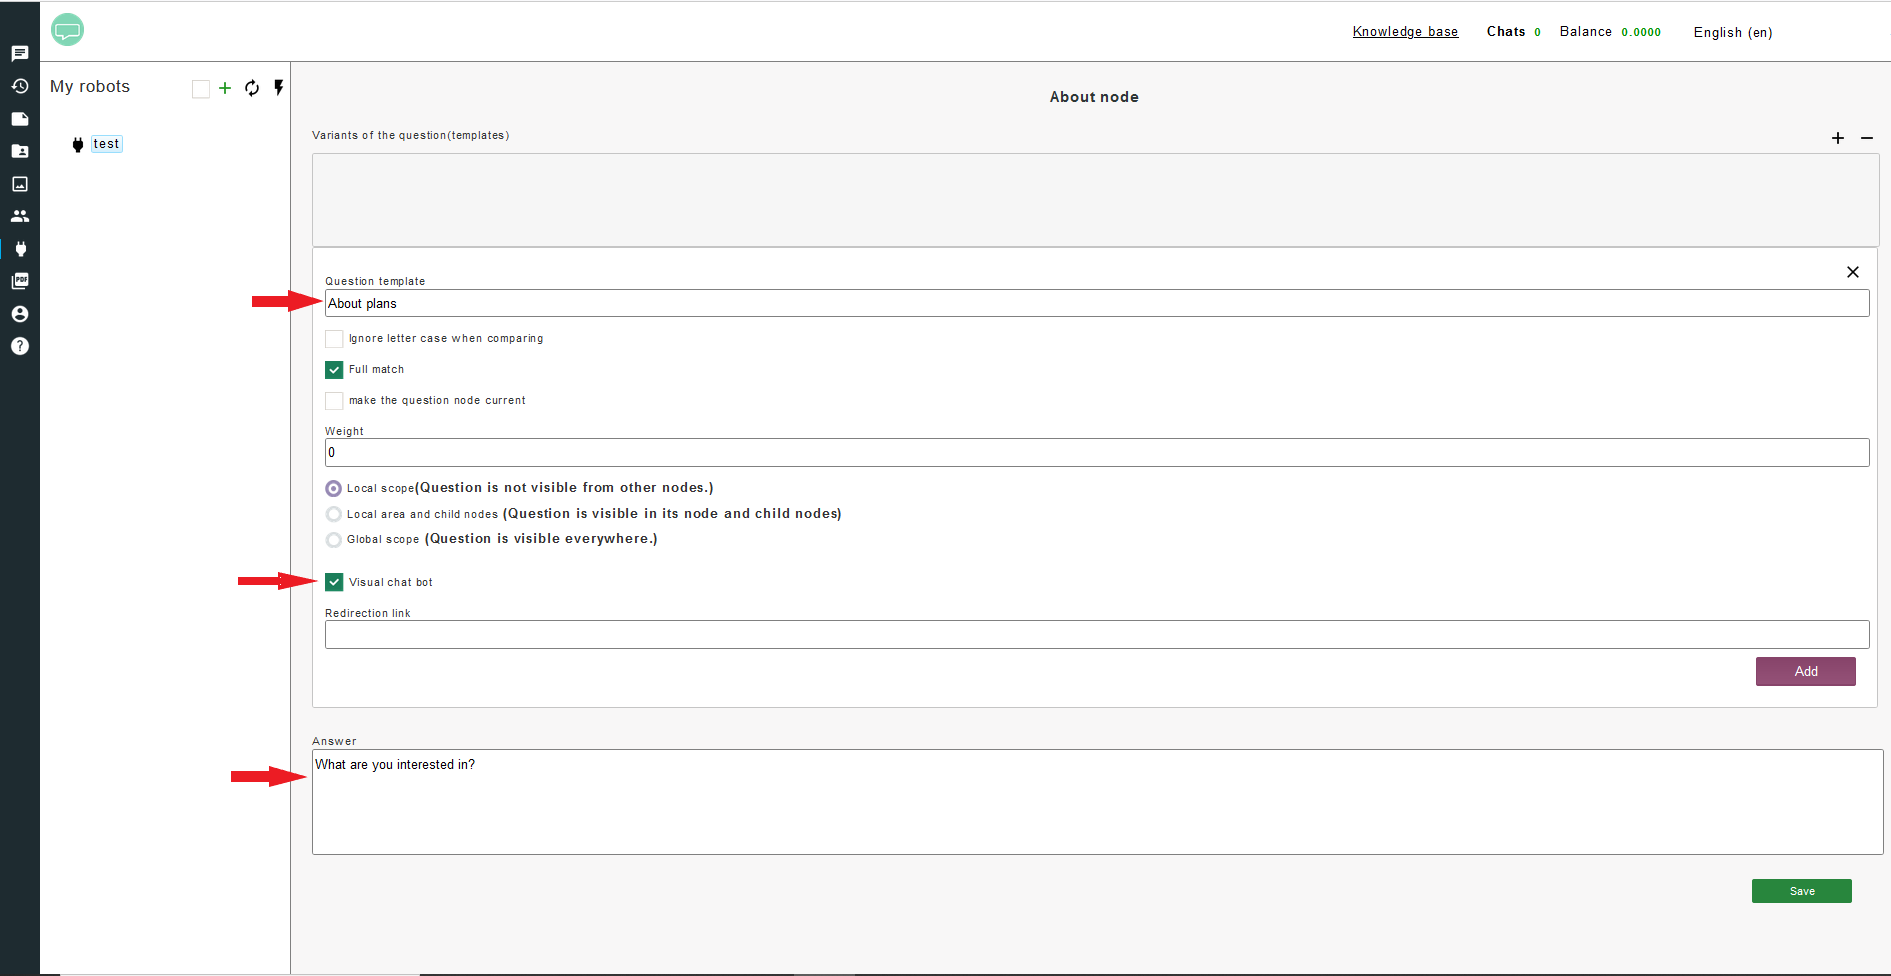
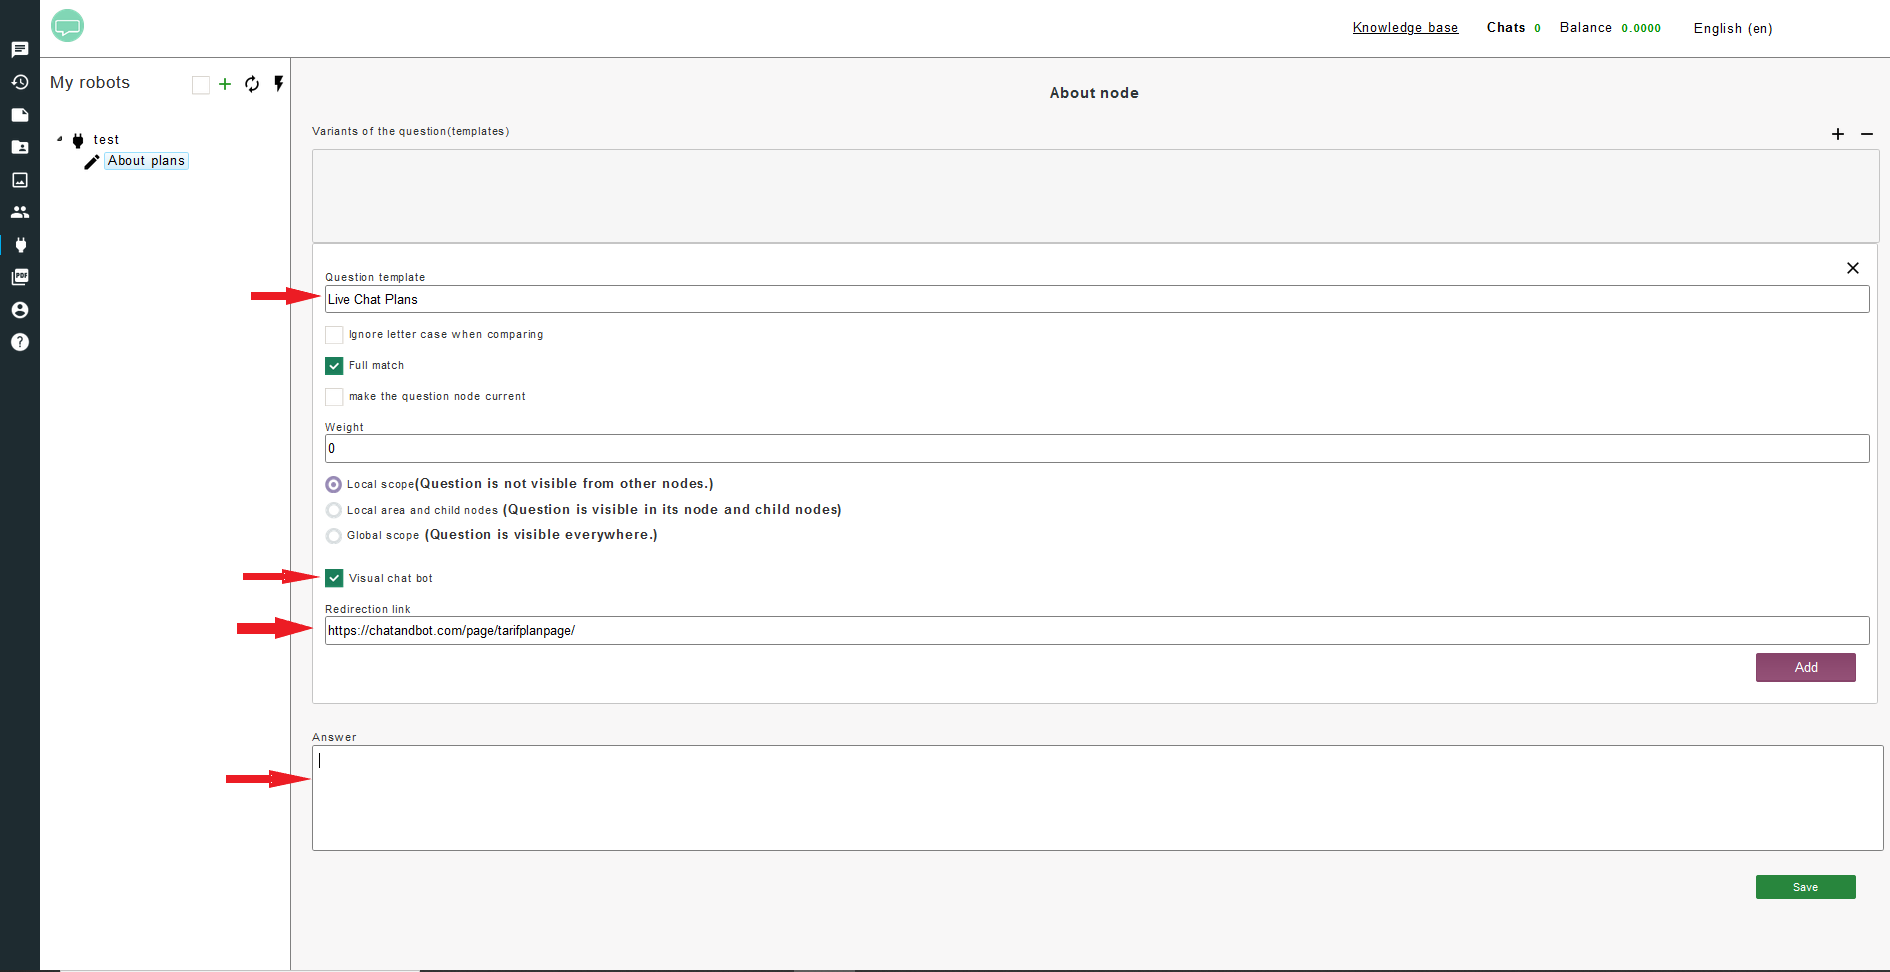
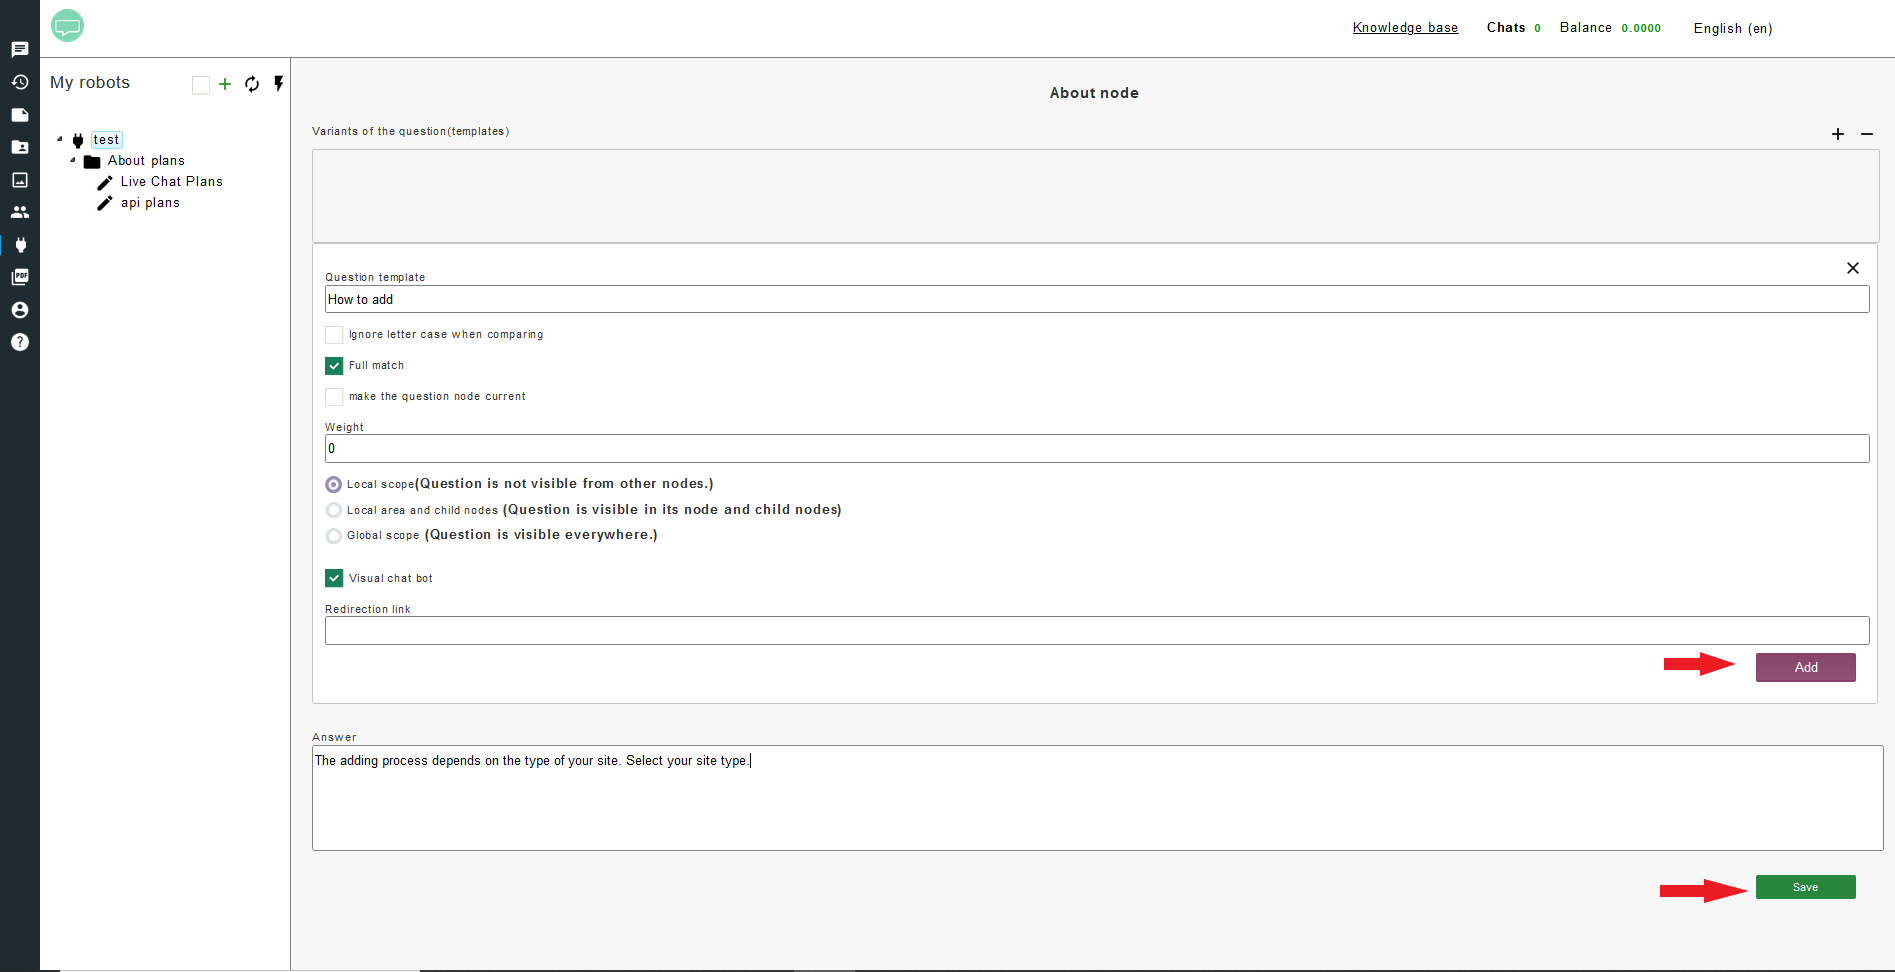
4.1 Check the "Visual chat bot" box.
4.2 In the "Question Template" we write "About plans".
4.3 In the "Answer" field write "What are you interested in?".
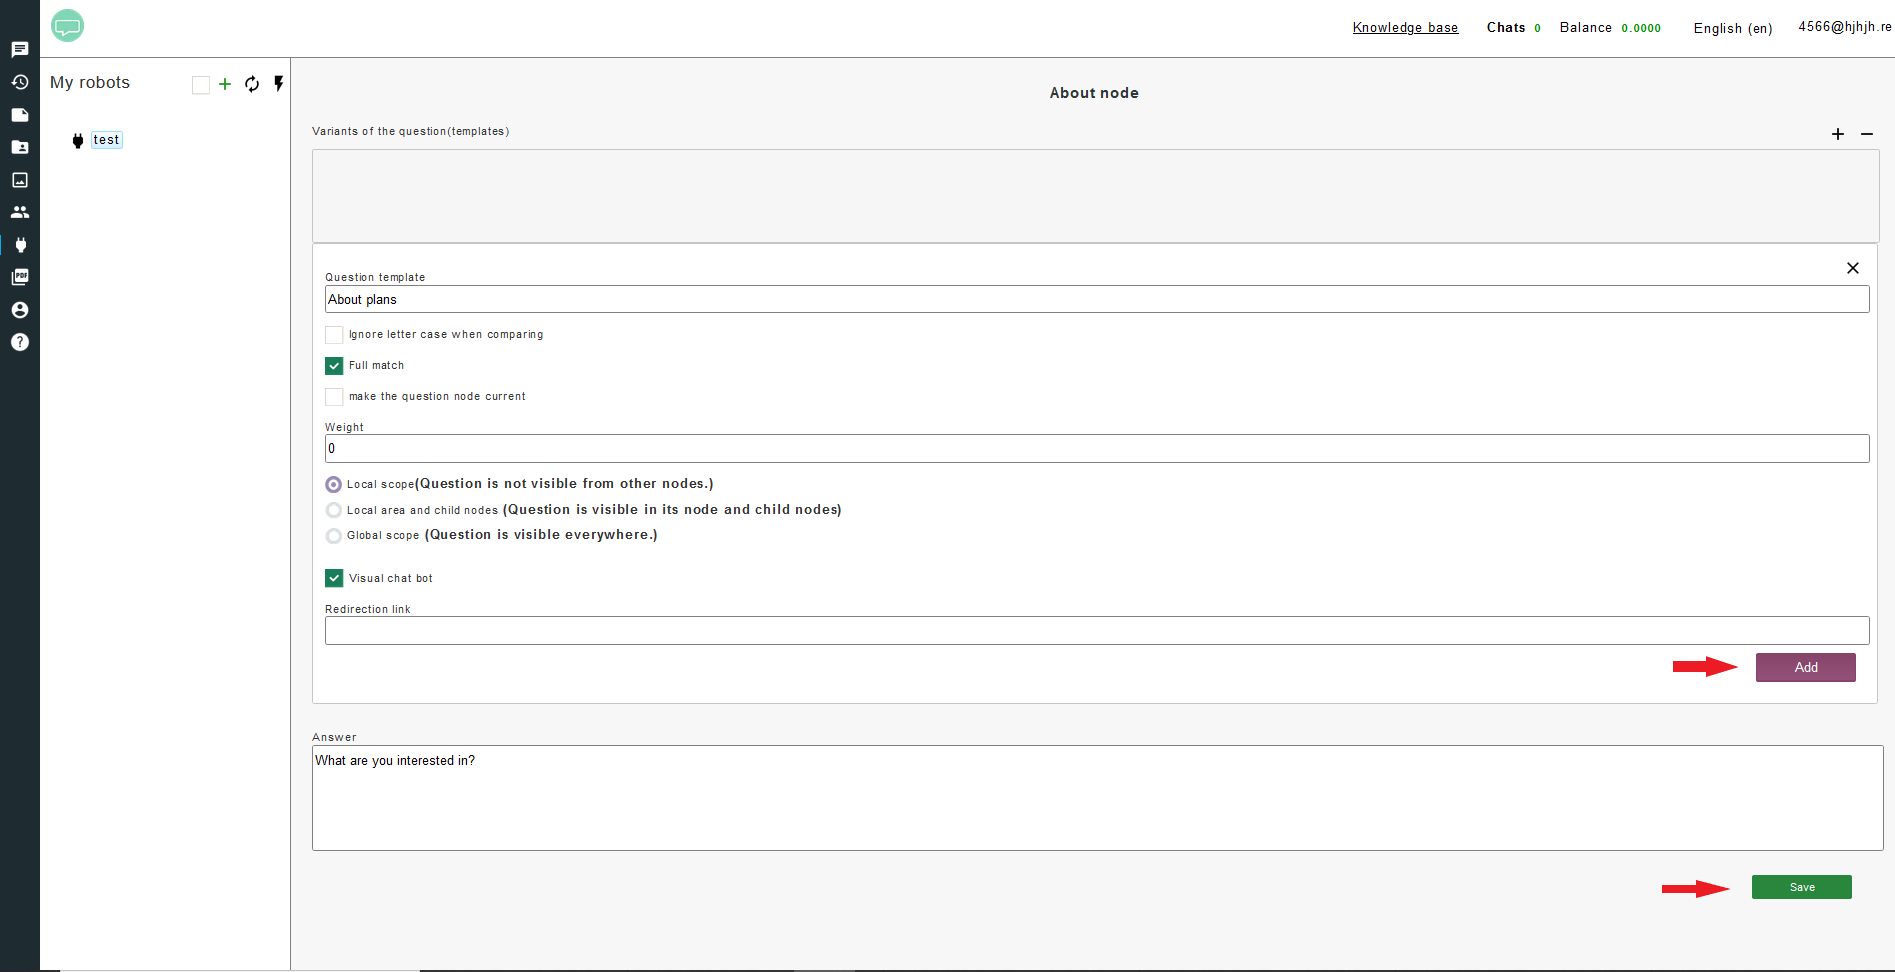
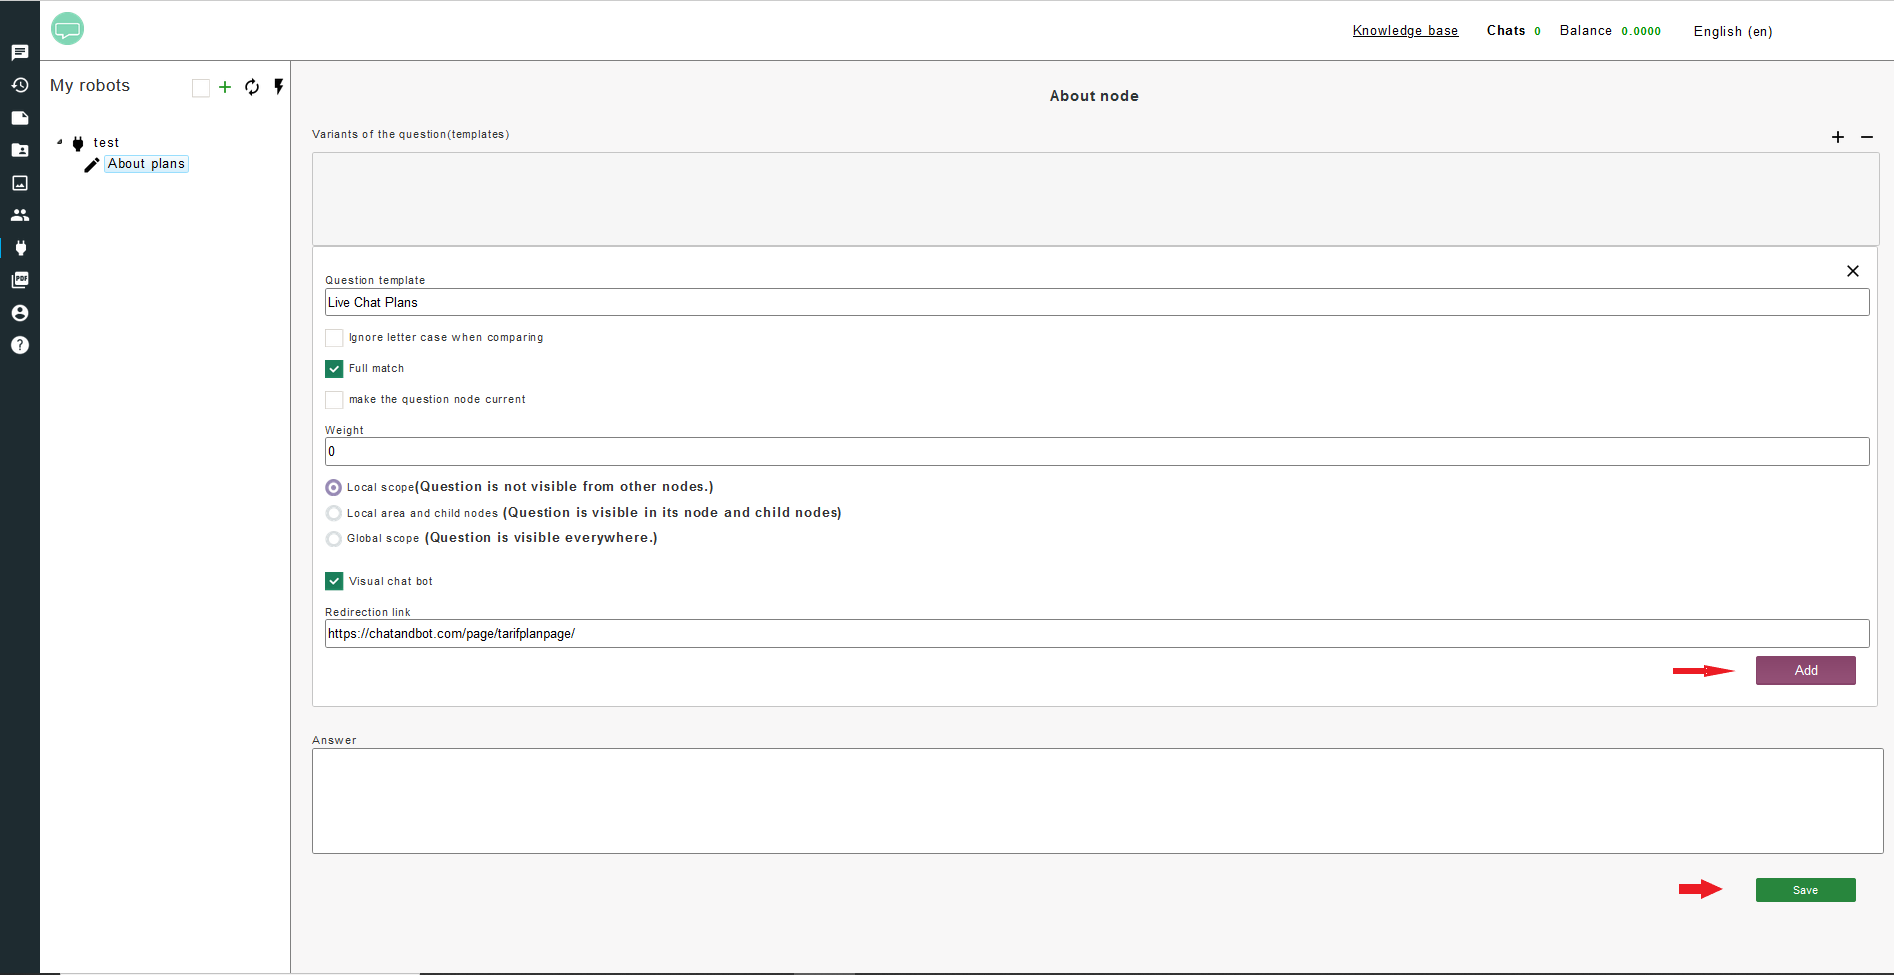
5. Click "Add" and then "Save".
6. Right click on the question "About plans" in the tree and click "Add question".
7.1 Check the "Visual chat bot" box.
7.2 In the "Redirection link" field write our url.
7.3 In the "Question Template" we write "Live chat planes".
7.4 Just put a space in the "Answer" field.
8. Click "Add" and then "Save".
9. Repeat step 6.
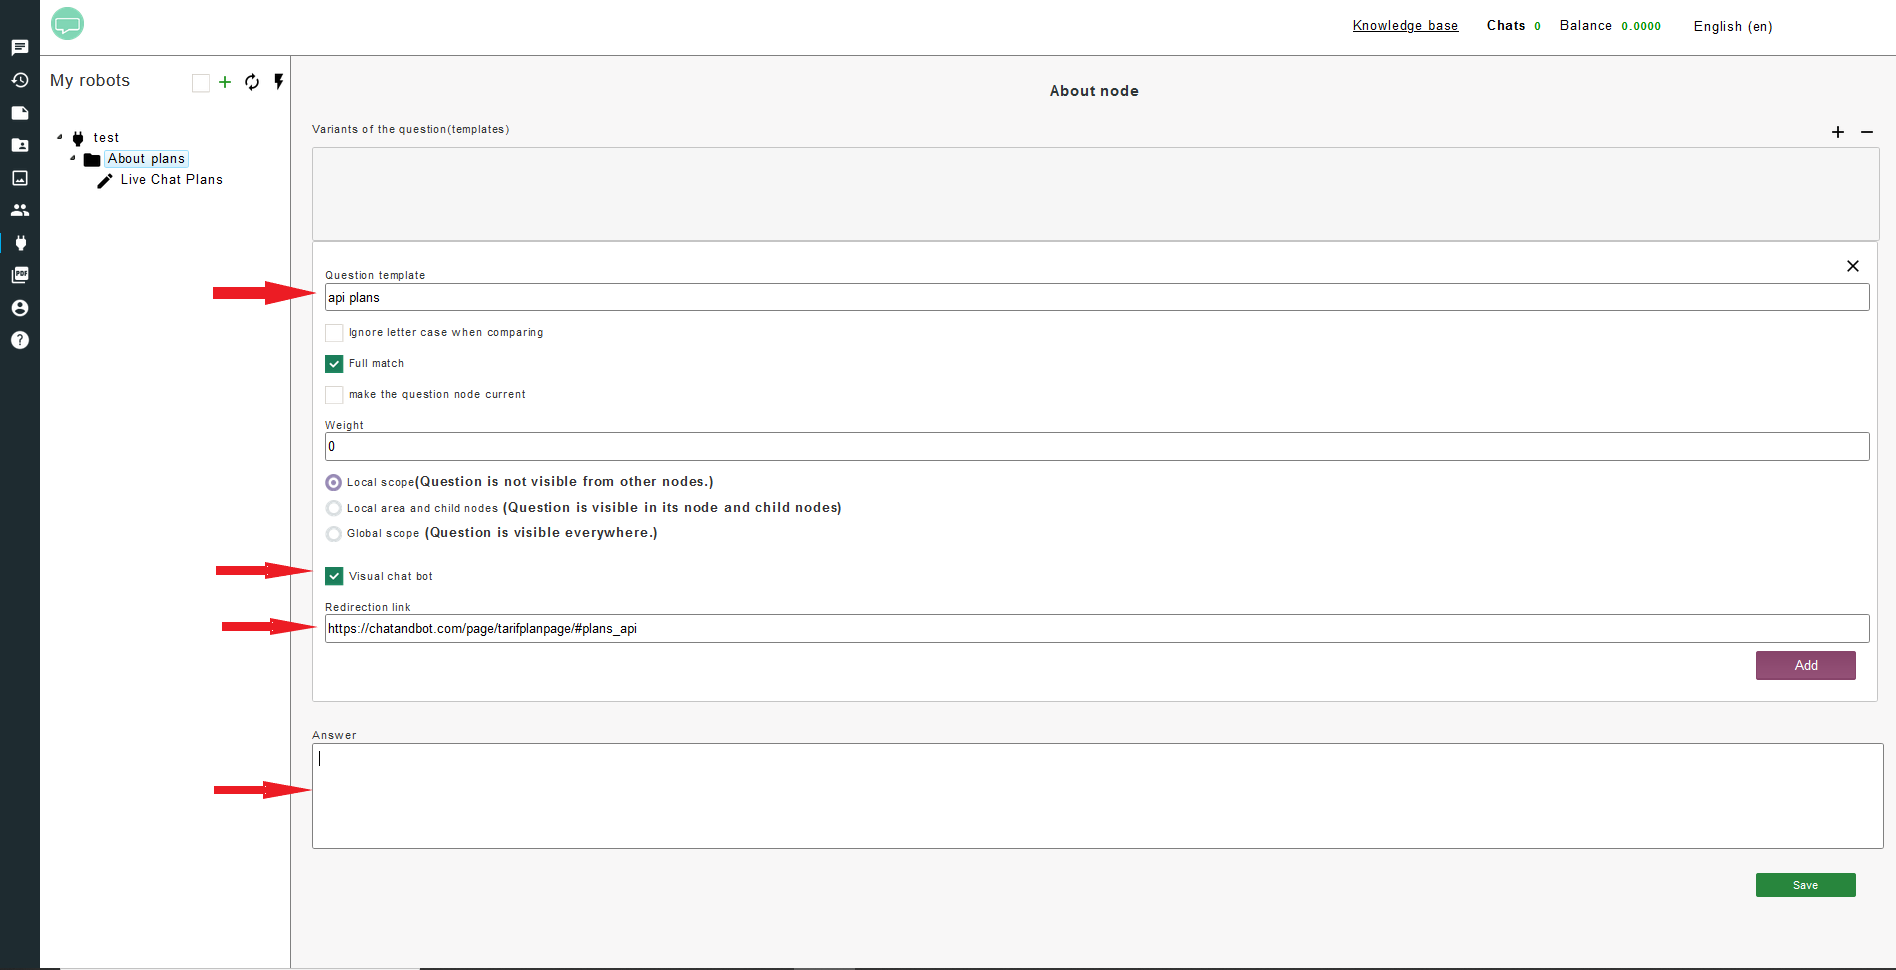
10.1 Check the "Visual chat bot" box.
10.2 In the "Redirection link" field write our url.
10.3 In the "Question Template" we write "API plans".
10.4 Just put a space in the "Answer" field.
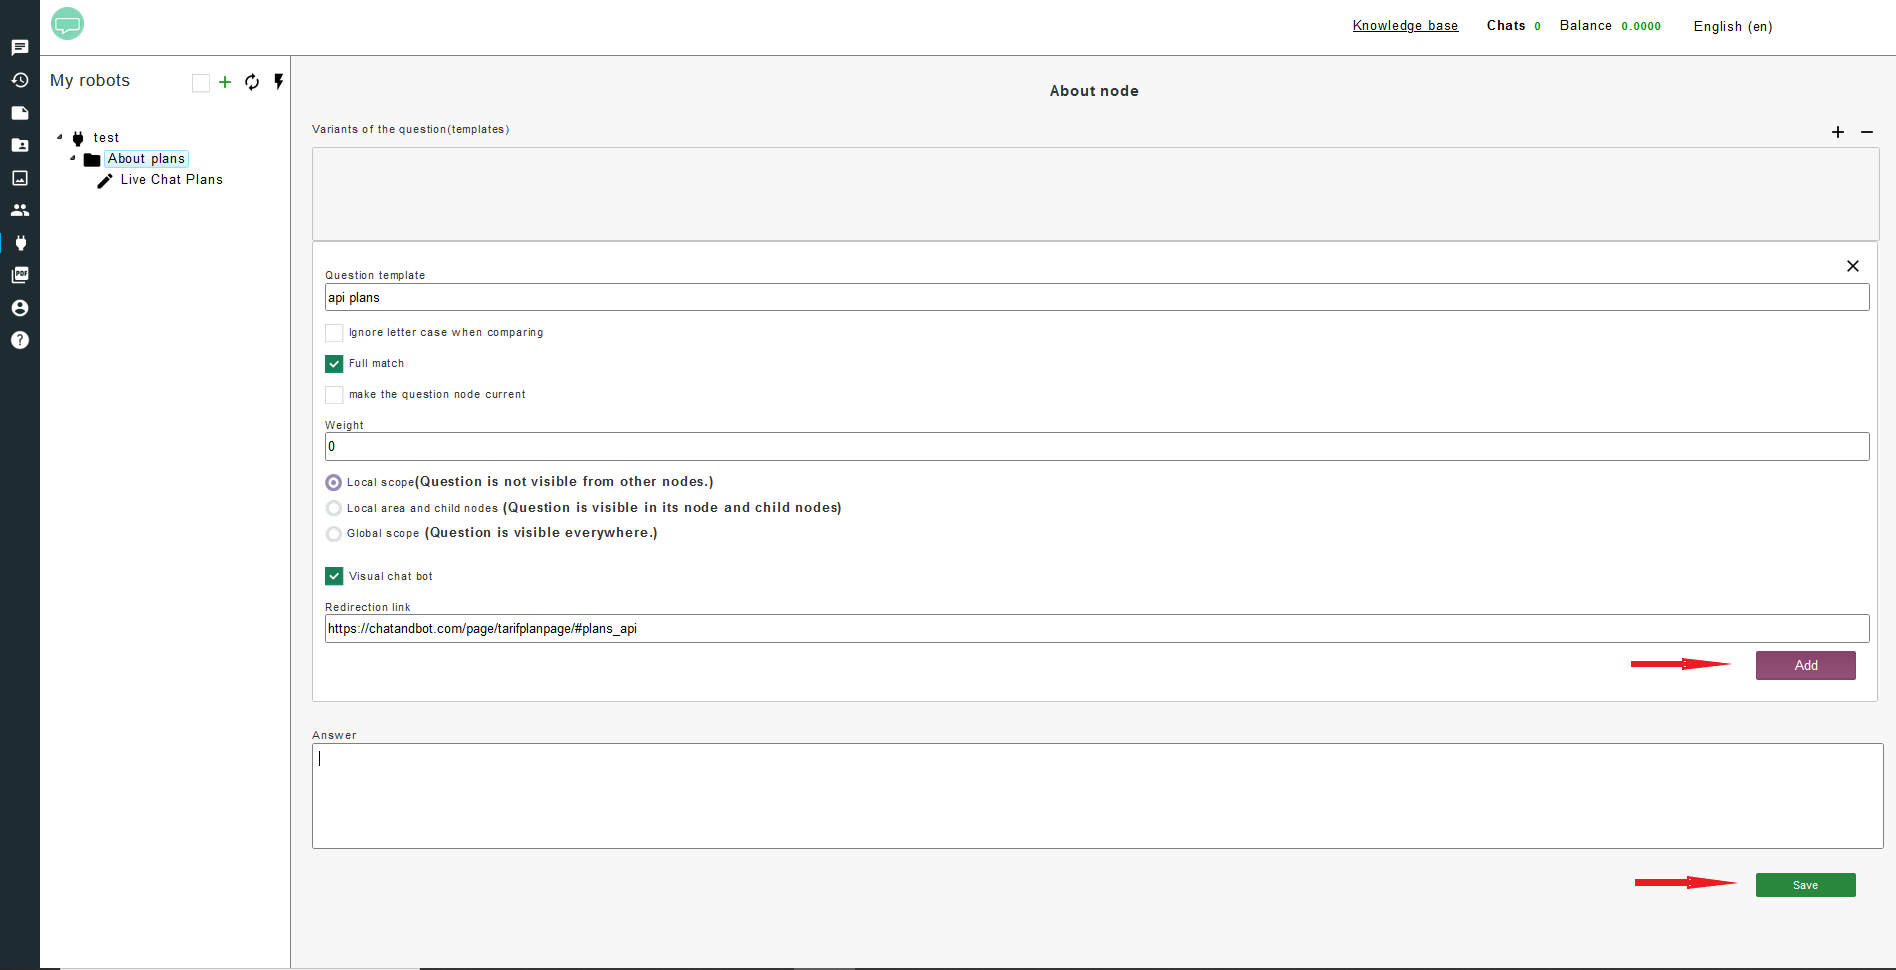
11. Click "Add" and then "Save".
We've done the first branch of our visual chatbot. Let's start the second branch.
12. Let's repeat step 3.
13.1 Check the "Visual chat bot" box.
13.2 In the "Question template" we write "How to add".
13.3 In the "Answer" field write “The adding process depends on the type of your site. Select your site type.”.
14. Click "Add" and then "Save".
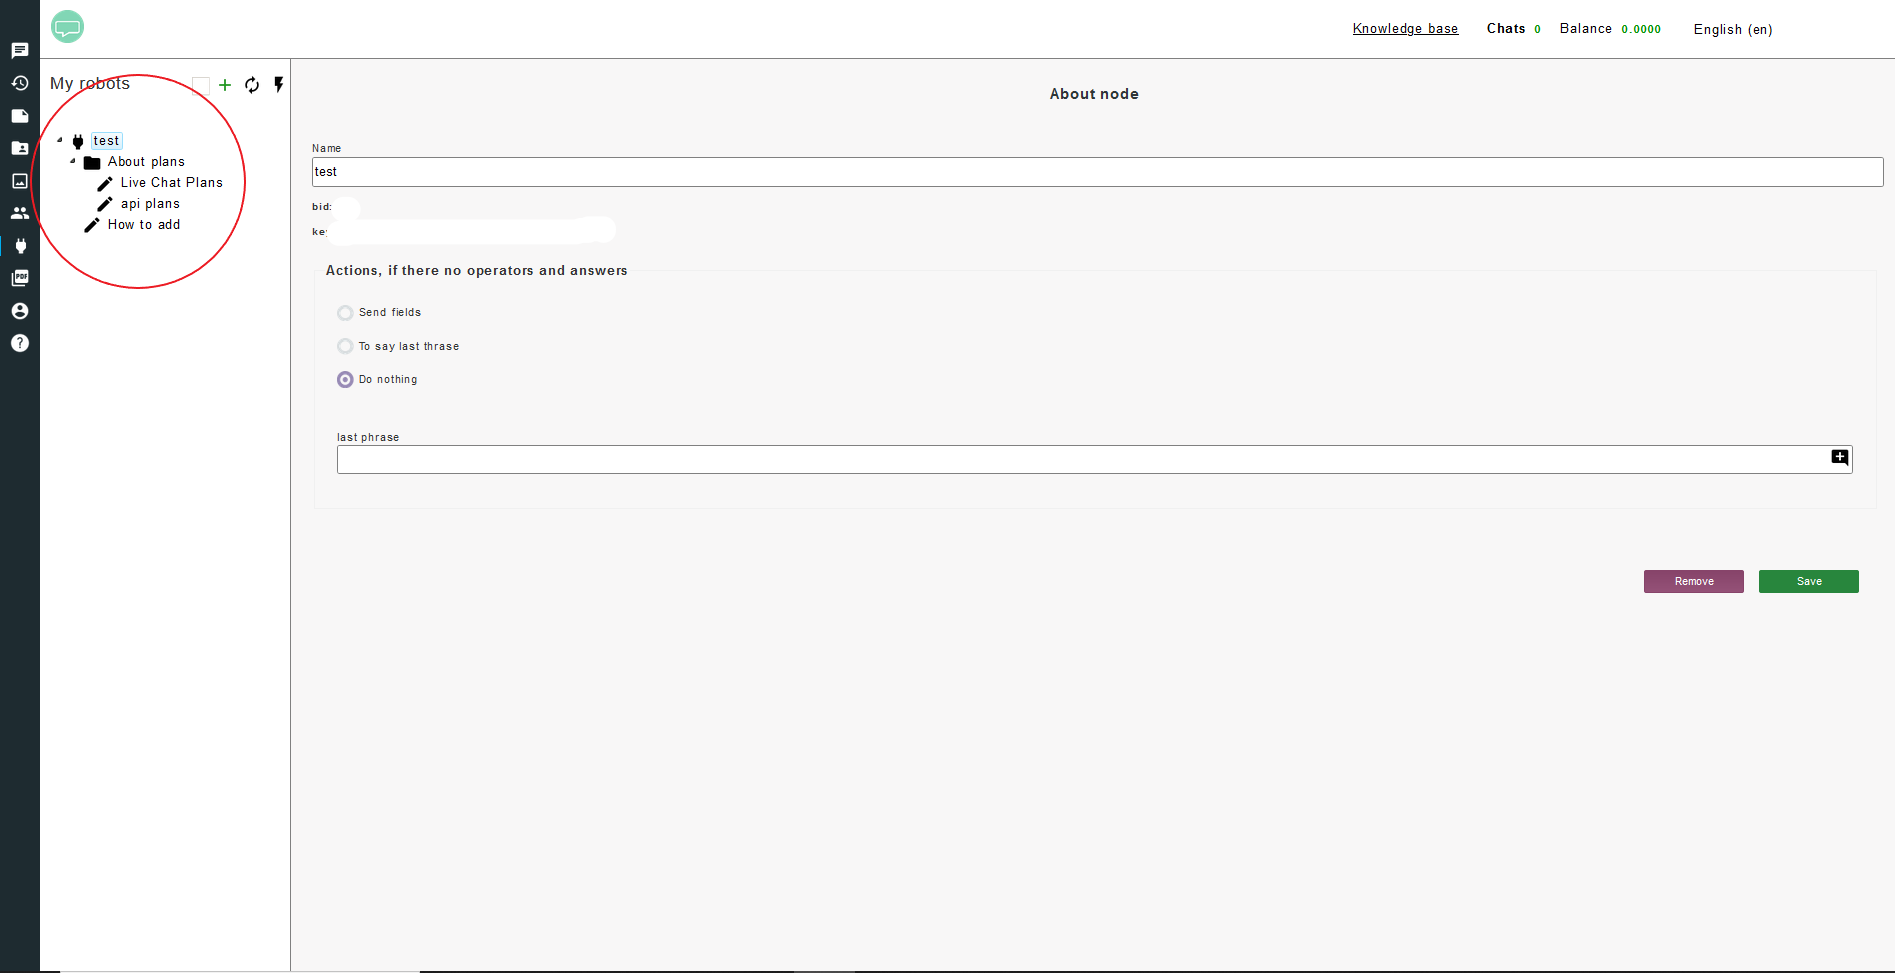
15. You should get a tree like this.
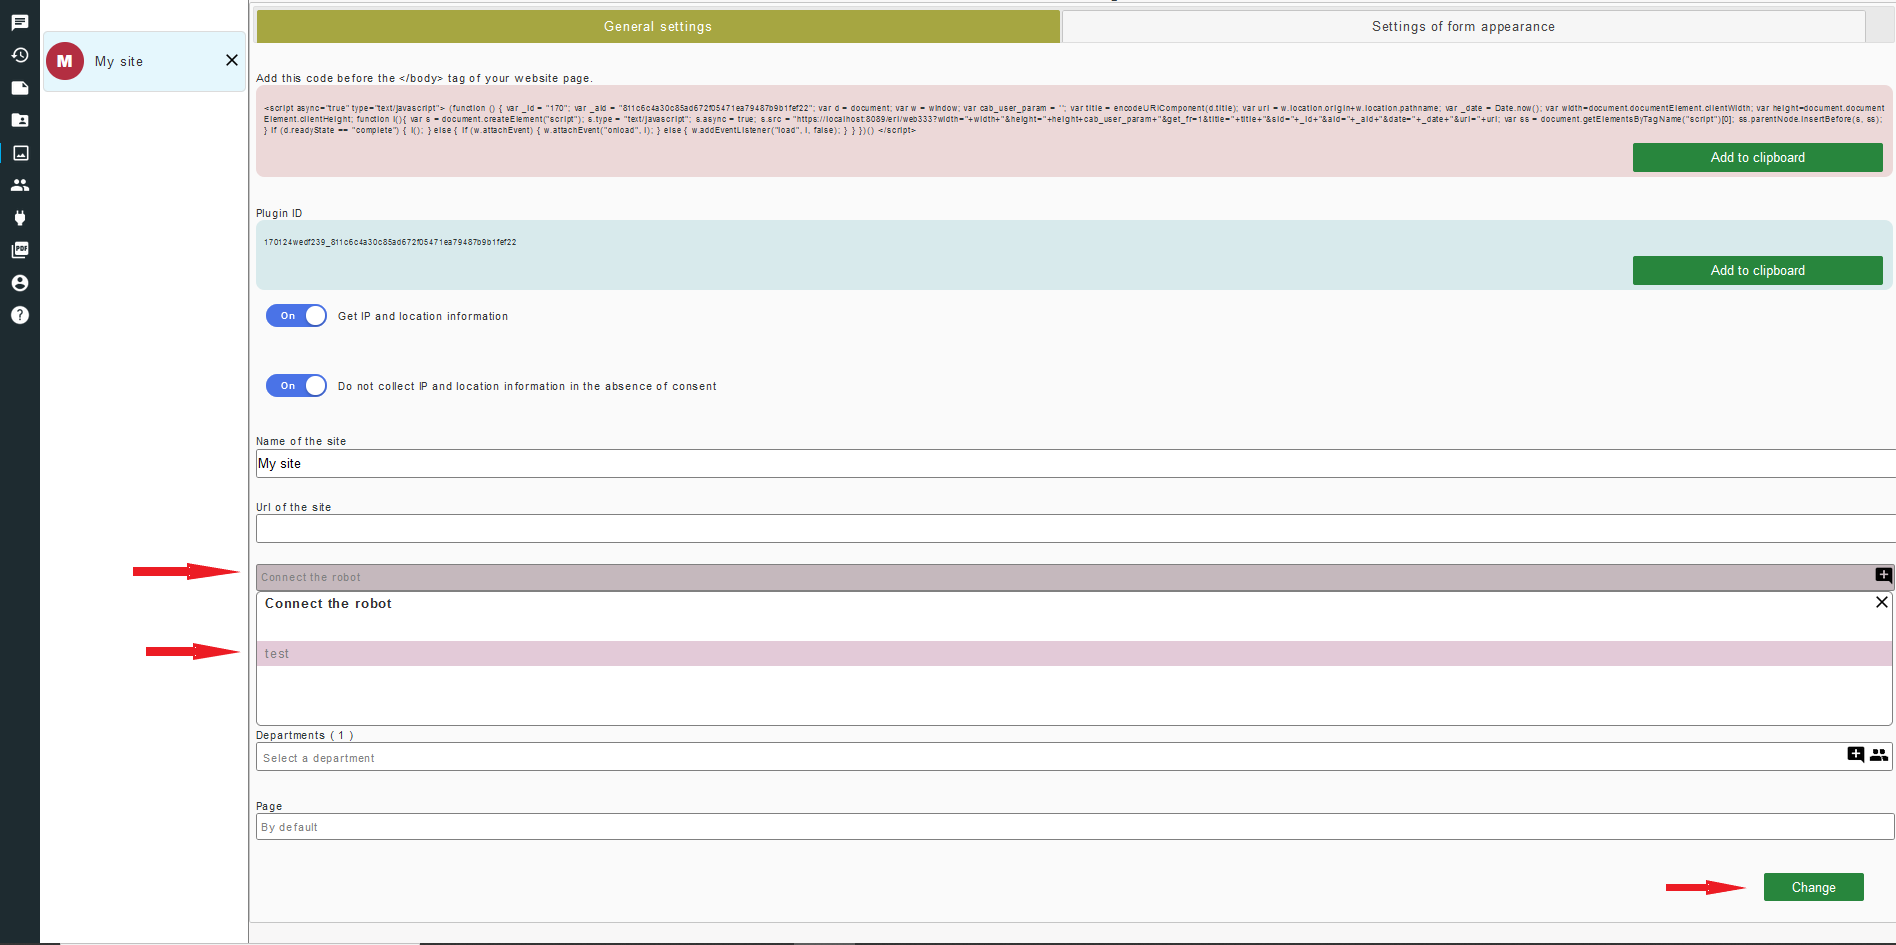
16. Bind the chat bot to the site. To do this, open the site settings, click on "Connect robot", select your robot and click "Change".
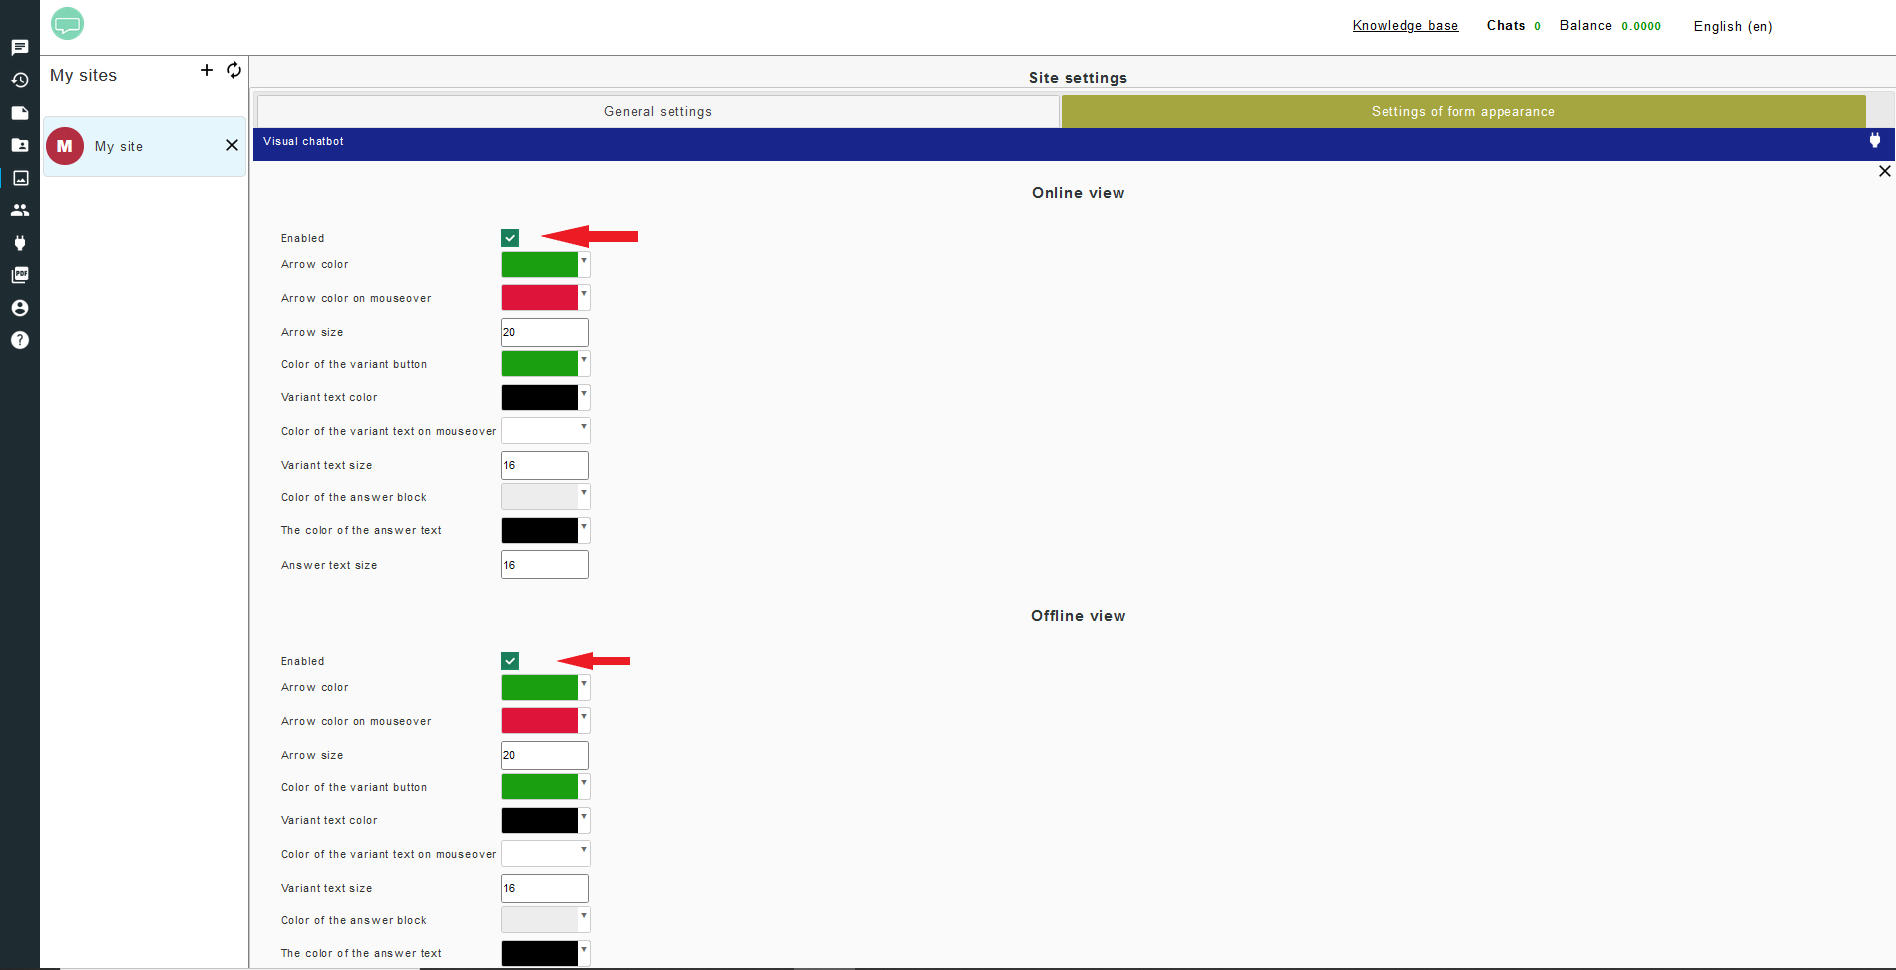
17. Make it visible. To do this, go to "Setting of form appearance" -->"Visual chatbot".
and turn on the display for the desired modes. Click "Save".
The questions appeared on the chat form.